Plans will always be square and exact and even and perfect - blame computers for that. Real world construction is something altogether different. There is no such thing as a perfectly straight line and no wall is perfectly square with another - it all depends on where you measure to or from. With this in mind, layout of building lines is an inexact science at best.
Add to that the fact that once the excavator begins to drill for the piles, you're stuck with what you've got at that point. To aid in being able to reset key, important locations like the centres of piles and grade beams etc, its helpful to measure from a layout line that won't be disturbed by digging and for that you snap parallel lines away from the dig area and measure back as needed to establish your lines.
Which I will do, but first we need to get rid of the driveway.
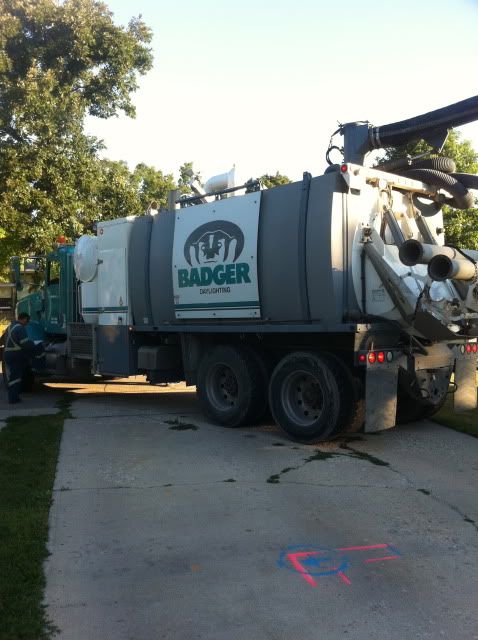
And what to my wondering eyes did appear in the early part of September (the 6th to be exact) right when the contractor said it would?
Sweet!
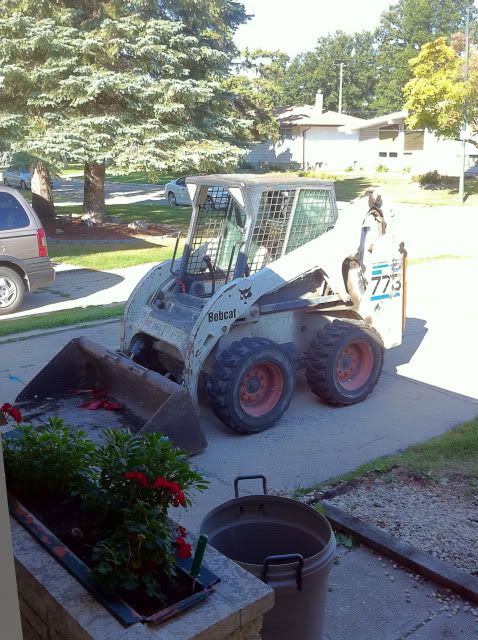
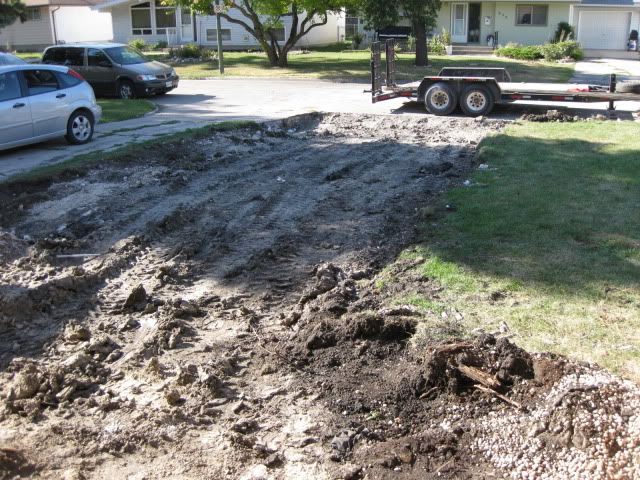
and look what it did to my driveway! Good bye old friend!
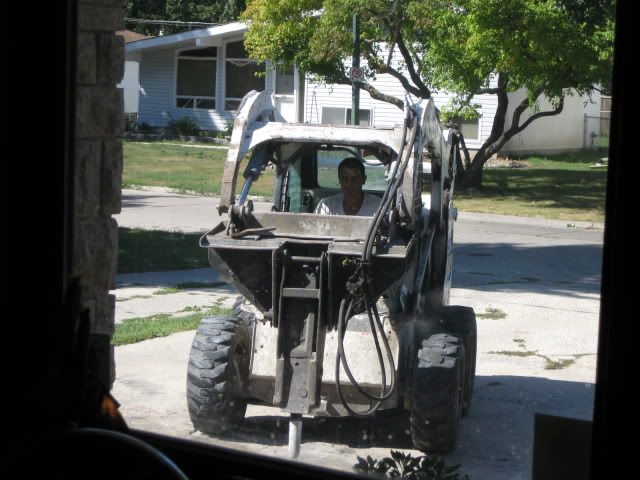
and yes, that's George, our cat, making sure the guys knew what they were doing... Good supervision is hard to come by these days.
It was actually starting - this renovation - and this was the most concrete step so far (pardon the pun) breaking ground so to speak. There was really no turning back - which while satisfying finally, was also a bit scary. With no one else to turn to if things started to go awry, the successful finish of this project was going to rest on my shoulders alone.
Good thing I'm supposed to know what I'm doing...
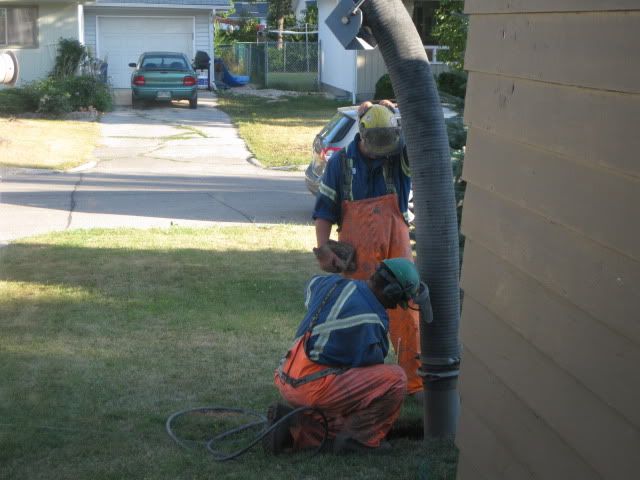
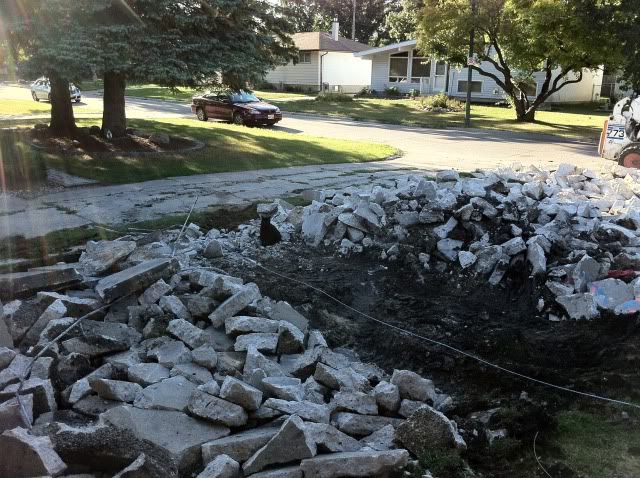
Here's how they broke up the driveway -
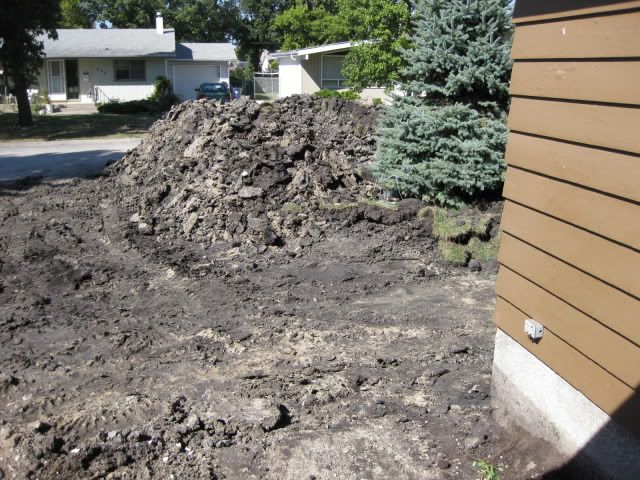
And here's what we were left with once they cleaned up and hauled everything away:
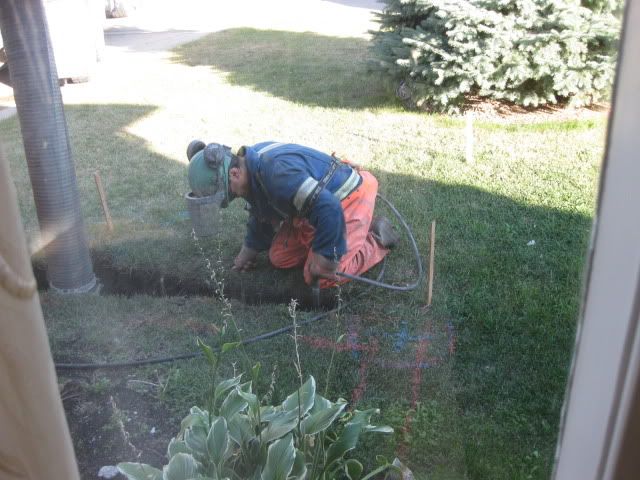
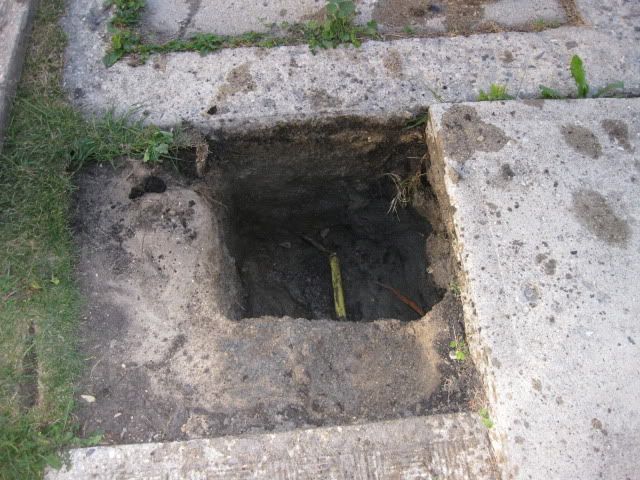
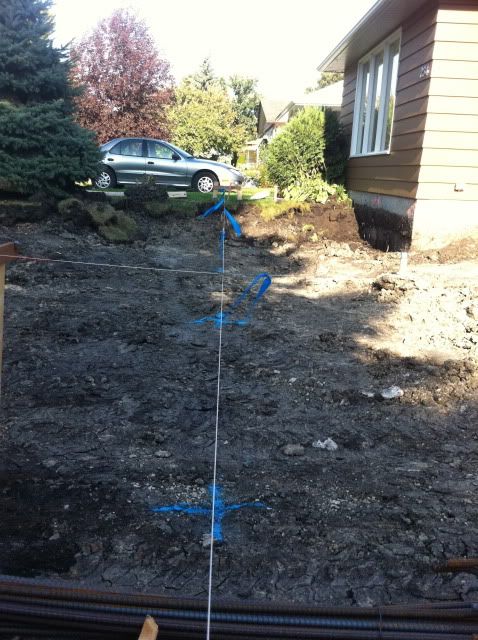
With everything removed I re-strung my layout lines and sprayed the locations for the piles and grade beams. Originally I had hoped to be well past this stage of the project by the beginning of September to avoid the chaos of back to school and kids walking along the Bay and past heavy equipment, but beggars can't be choosers, and this is what we had, so this is what we had to work around.
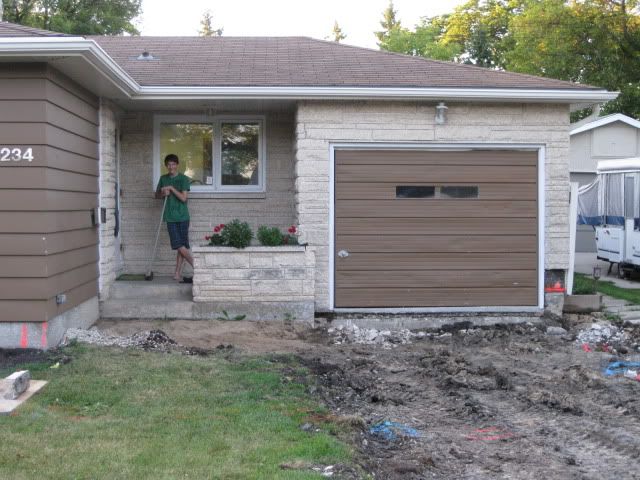
The boy usually has his back to school picture taken on the front steps - I decided to add a bit more of the foreground this year for posterities sake!
Next day the guys returned to excavate more of the site to allow better access for the bobcat to manoeuvre and for the drill rig to be able to get close to each hole location.
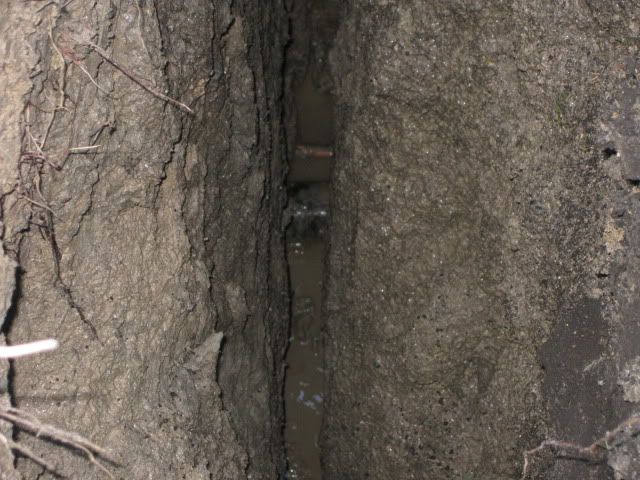
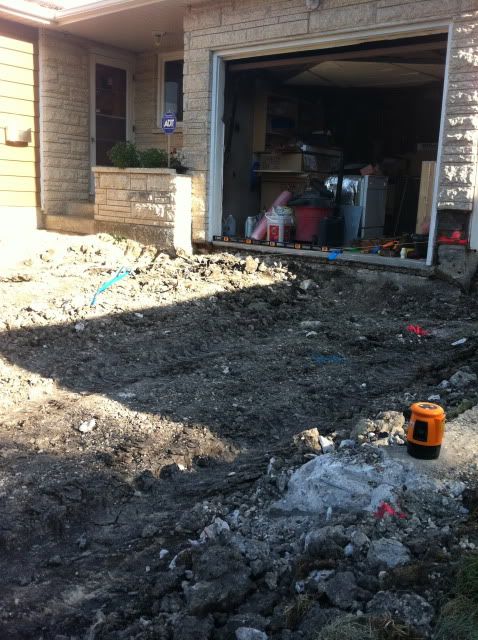
With things dug down near the existing foundation I was able to get a closer look at the grade beam and pile location at the corner of the existing garage under the overhead door. It seems even back in 1962 they didn't always get the concrete laid out exactly right.
While our house has a poured concrete basement wall system resting on footings, the attached garage's exterior walls are supported by concrete grade beams (8" wide x 24" deep) which in turn are supported by three (or more) concrete piles (cored excavations into which steel rebar and concrete are placed) 20' deep. Since we are attaching structure to and on top of the existing garage, we have to ensure we have the same type of foundation system in place.
Closer inspection of teh existing pile at the garage corner showed it was poured a bit off center from the grade beam it was designed to support, and that the grade beam itself suffered some cracking early in it's life. I took pictures and consulted my structural engineer and discussed options. We agreed that it appeared the house hadn't shifted at all over the years and that as long as we attached the new concrete to the old carefully and allowed some additional forming of that area we should be fine.
To be safe, we relocated the center pile on this side of the new garage foundation to take more load, thus reducing our chances of significant bearing issues in this old corner:

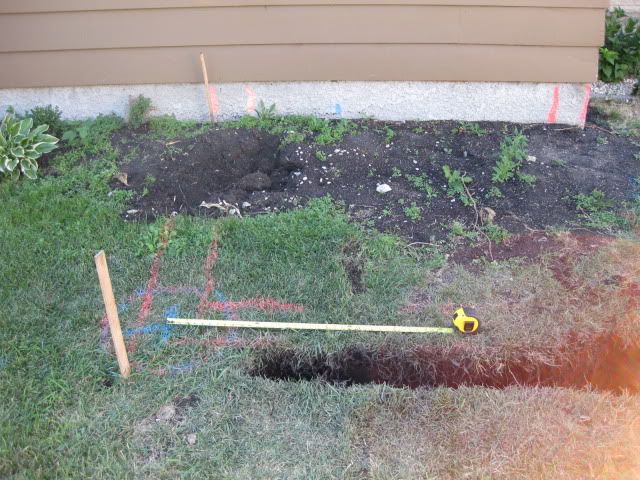
With the concrete drill rig booked for a Monday morning excavation, I rechecked everything and laid it all out one last time:

And with that, the first week of September closed with very visible evidence of something about to begin. I suspect the neighbours had little clue what they would be in for in the next few weeks.
Next time: holes, steel, wood and concrete - no, that's not a Crosby Stills Nash and Young tribute band, that's how we finally got things off the ground!